Cross Guide
This guide focuses on planning a standard cross during inspection so it can be executed quickly and without hesitation, and on extending that plan into a practical first pair. It is not about xcross.
The goal is to finish inspection with a complete plan that you can execute automatically, without needing to think about the cross once the timer starts.
If you are looking for an interactive tool to walk you through your own scramble, you can use the walkthrough solve tool.
Guidelines
Plan the cross on the bottom.
This sets you up to transition smoothly into F2L, and improves lookahead during cross execution.
Your cross solution should not involve a cube rotation.
Cube rotations are slow, and thoughtful planning can always produce an erganomic cross solution without one.
Solve pieces relative to each other first, then align the cross at the end if necessary.
Moving the cross to insert edges is much more efficient than pairing up edges with their centres before inserting them.
- During inspection, memorise the plan in a way that lets you execute it automatically instead of trying to work it out while turning. This includes planning hand positions and regrips.
What to look for in inspection
Efficient inspection is about spotting the important relationships quickly.
If you choose your cross color, compare options and pick the easiest cross you can see quickly.
- Find the four cross edges.
- Note which pieces have good or bad orientation. A good edge can be inserted into the D layer in one move with the correct orientation; a bad edge cannot.
- Watch for pieces that are already paired up relative to each other, or can be inserted together without extra alignment.
- Pieces already matched to their centers are often worth leaving until later, because the cross will not need adjusting after insertion.
- If two badly oriented cross edges are on the same face, one turn can orient both.
- Look for cases where inserting one edge also fixes the orientation or position of another.
- Well-oriented edges in the D layer are often attractive to leave in place. However, if it gives a cleaner overall solution, don't be afraid to temporarily replace them. It can usually be reinserted easily.
- Also notice when inserting one edge will disturb another, so you can choose a better order.
- If you can orient an edge while pairing it with its centre, that is often a good move.
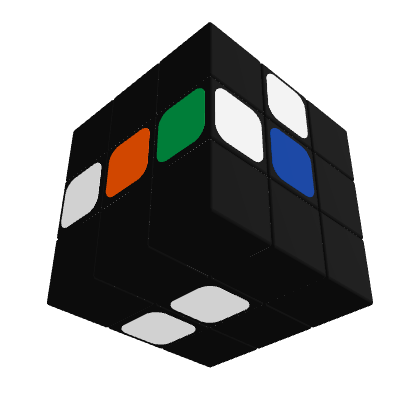
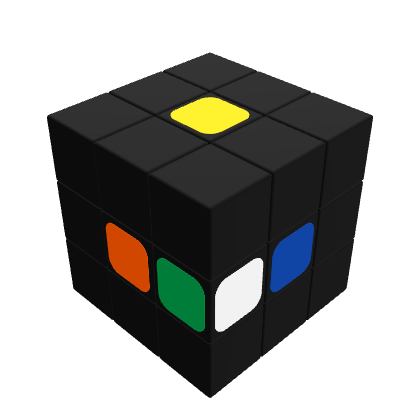
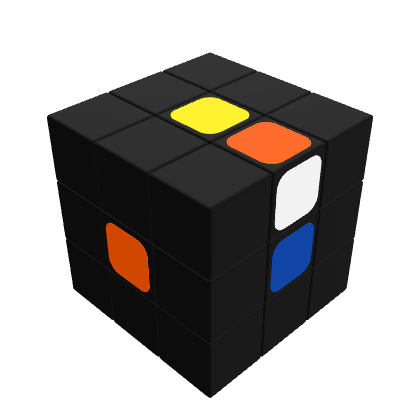
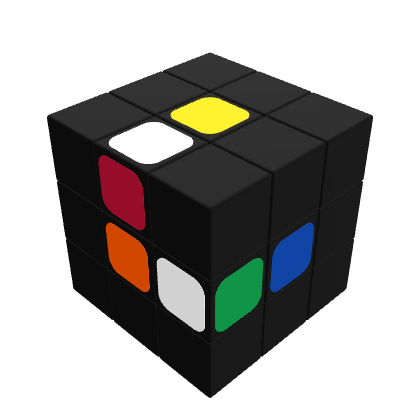
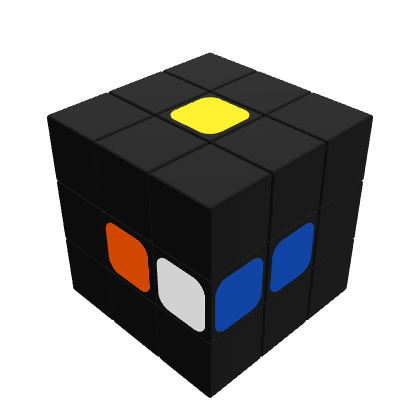
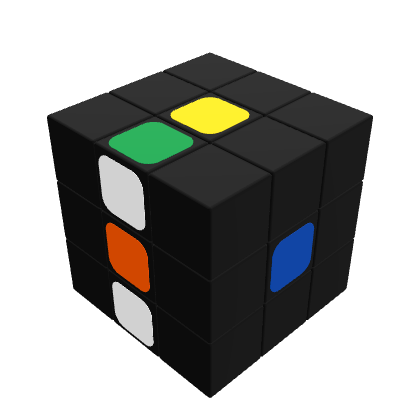
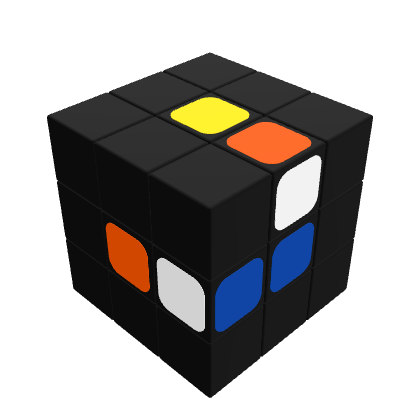
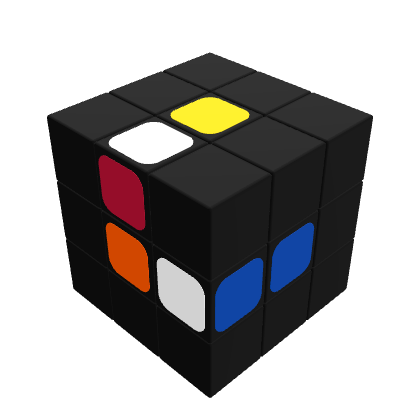
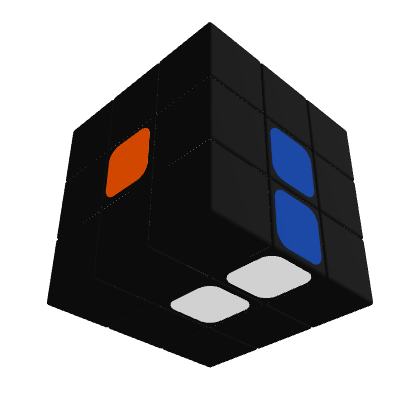
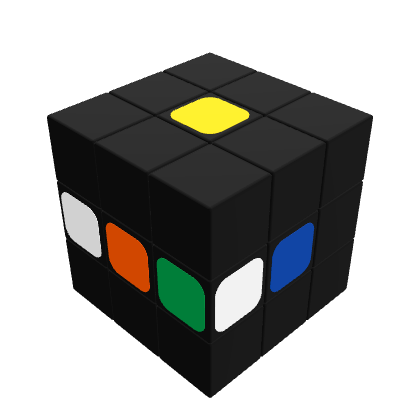
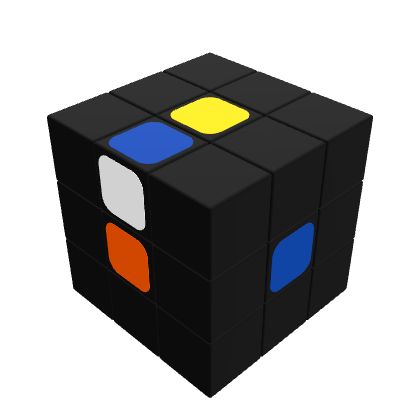
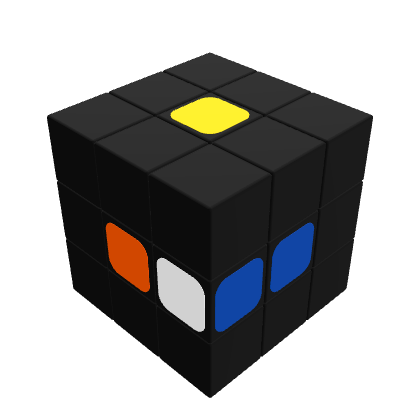
Building a plan
A standard cross solution usually involves
Decide how you are going to orient any bad edges.
- Ideally orienting the edge should have a side effect, such as setting up the relative position of that edge, or orienting/positioning another edge.
Decide on the order that you are going to insert edges.
- Edges already oriented in the bottom are often good candidates for first edges.
- Edges already paired with their centre are often good candidates for last edges.
- If inserting one edge positions or orients another, then they have an intrinsic order.
- If inserting one edge distrubs another, then it may be preferable to insert the other edge first.
Decide on the orientation you are going to hold the cube.
- Choose the orientation that results in the most erganomic execution - favouring L/R moves over F/B.
- Choose how you will hold the cube to begin with, and plan any necessary regrips.
- Plan ahead to any F/B moves. Often performing earlier moves with an unconventional hand position will mean that you will be in a position to execute the F/B moves without a regrip.
- Ideally, your solution would end in home grip so that you are ready to transition to F2L.
Execute cleanly
A low move count matters, but clean execution matters more. The cross can always be solved in 8 moves or fewer, but the best solution is the one you can perform confidently and carry smoothly into F2L.
- If solving a piece to the side is faster than solving it to the front or back because it avoids a regrip, that is often the better choice.
- If your cross starts with a pickup, a U or D move can be easier because it does not require fingers under the cube.
- Push moves are generally preferable to regrips.
- Once you have a plan, try to execute your solution as fast as possible, even if you end up making mistakes. This will train you to know your full solution, and perform the moves without thinking about them.
Plan the first pair
After planning the cross, it is good to predict your first pair. The goal of cross plus one is to solve the cross and first pair while already looking ahead to the second pair.
You probably will not have time to track every pair during inspection, so it helps to narrow the search.
- You do not need to track every sticker. Knowing where the edge and corner finish, where the white sticker ends up, and whether the edge has good or bad orientation is enough to identify the F2L case.
- Look for edges that will have good orientation after the cross, since those cases can be solved without a cube rotation.
- Look for a pair that leaves at least one piece in the U layer, since those cases are often simpler to recognise and solve.
- A back-slot first pair can be attractive because it keeps the front of the cube clear for lookahead.
As you improve, you may notice ways to change the cross solution to create a better first pair. This trainer does not currently modify the cross solution to help with cross plus one.